
How to Use Inserts in Your Coil Planner
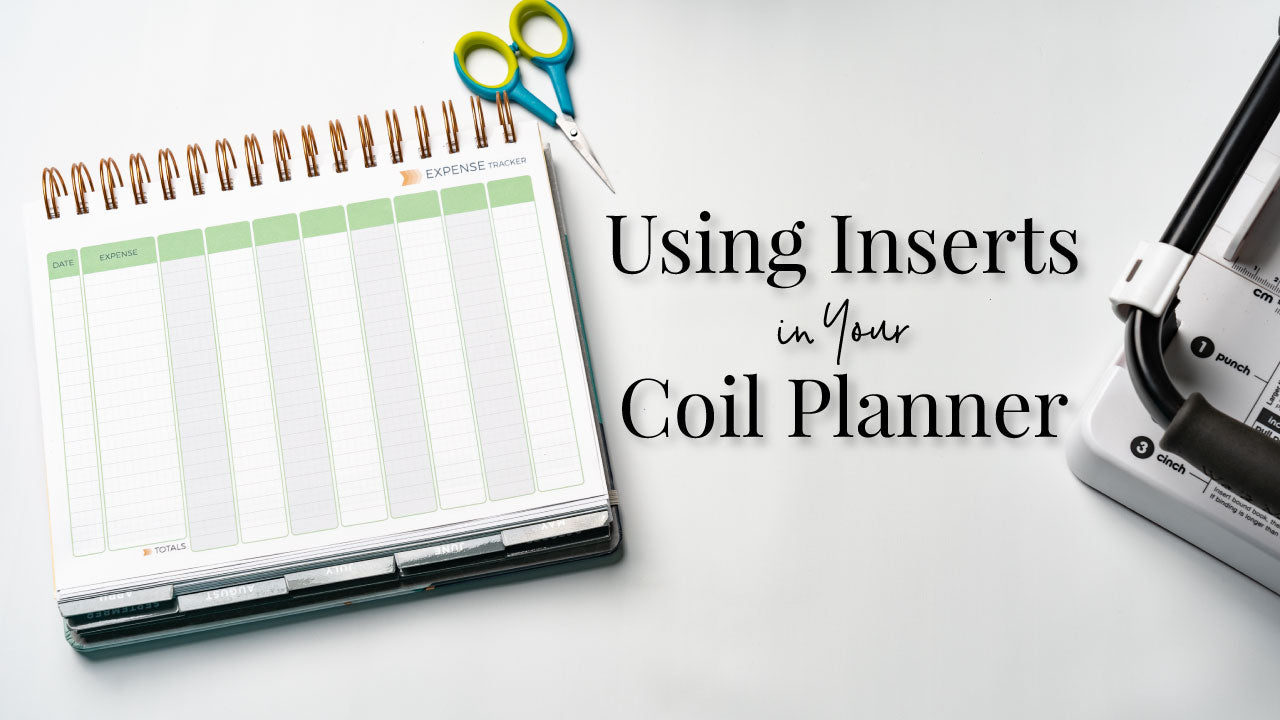
Those of you with a coil bound planner don't have to miss out on the fun of adding inserts to your planner! We have two finishing options that will allow you to customize your coil planner with inserts.
We offer all our inserts in the following finishing options:
- Disc Punched - for 7 x 9" disc planners (ie. Inkwell Press and Happy Planner)
- Unpunched - for you to punch or washi tape into any 7 X 9" planner
- Square Punched - for 7 X 9" planner with wire-o coil using instructions below (ie. Inkwell Press Coil Bound Planner)
To add inserts to your Inkwell Press Coil Bound Planner you will want to order your inserts from us either Unpunched or Square Punched. If you order Unpunched you will need a square hole punch like the We R Memory Keeper's Cinch Punch to punch the proper hole type. If you order Square Punched all you need is scissors to cut the slits into each square hole.
Whether you order Unpunched and punch the square holes yourself or you order Square Punched you will use scissors to cut slits into the center of each square hole. Once you complete that quick little task you can add inserts into your coil bound planner!
To see the process in action check out our quick video!
Shop our collection of Planner Inserts and start customizing your Coil or Disc Planner!
*this post contains affiliate links. Please note we do get a small commission if you use our link to purchase.*
POST COMMENTS